All Resources
R-31
Film Making
The CG-First, AI-Assisted Film Pipeline
A working blueprint for a 4K film: twelve numbered stages, the exact tool and feature at each one, what it outputs, and why the step exists.
PAR2 Labs
August 18, 2026
18 min
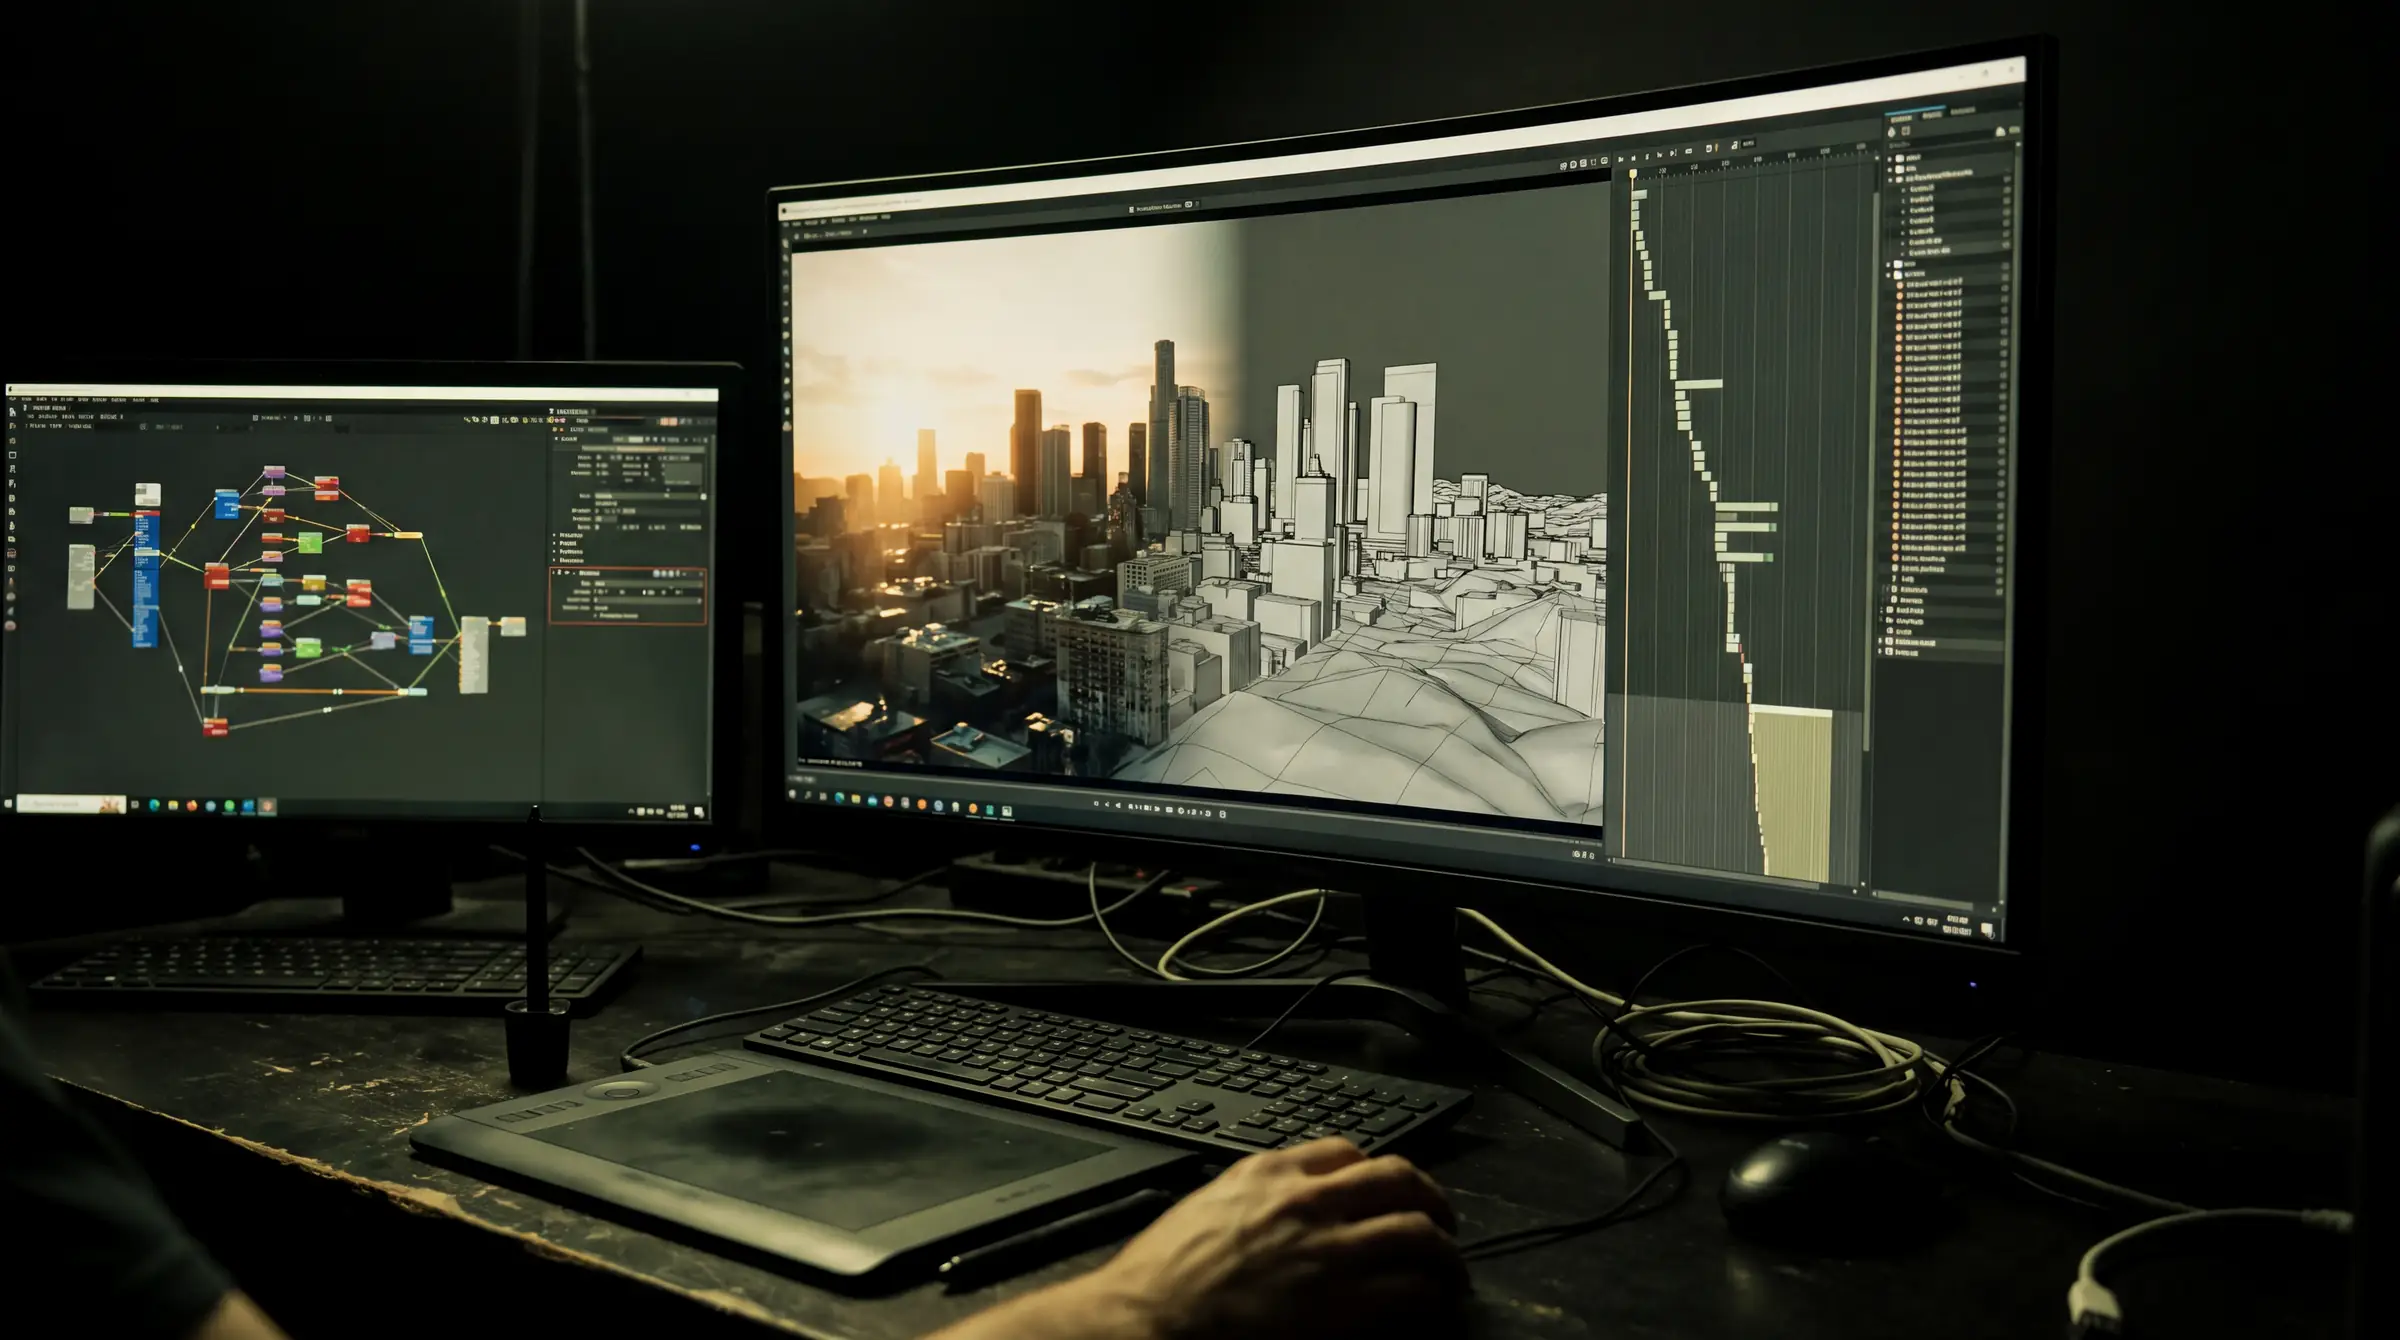
Most 'AI film' workflows fail in the same place: they ask a model to be the camera. This one asks it to be the crew. A render lane stays deterministic and directable at true 4K while an AI lane accelerates what is expensive to build by hand — and both converge on a single graded master. What follows is the whole route, stage by stage, with the tool and the reason named at each step.
Watch the explainer
5:42
Narrated, with every diagram built on screen: two lanes, one master, twelve stages and what to expect, honestly.
01
Two lanes, one master
The spine is a render lane: Unreal Engine as the backbone, Blender for assets, simulation and hero frames. It is deterministic — the same scene renders the same way twice, a director's note maps to a control, and resolution is a setting rather than a hope.
Alongside it runs an AI lane: concept art and textures, an identity model for the cast, generated meshes, and a small number of generated shots — the video shots made in Seedance 2.0 on Higgsfield. It is fast and organic where the render lane is slow and exact. The discipline is deciding which lane a shot belongs to before you build anything.
Fig 1 — the render lane carries the film; the AI lane accelerates it. Both resolve into one grade, which is what makes mixed sources read as one world.
02
Who does what
Each tool has one lane it is genuinely good at, and the single most important thing to internalise is that video generation is not a renderer. Seedance 2.0 on Higgsfield makes the few shots that are too expensive to build; it will not path-trace your finals, and every take spends credits. The render lane stays the spine.
| Tool | Lane | What it owns | Not for |
|---|---|---|---|
| Claude | Glue | Script, shot list, bpy and Unreal Python, render automation, continuity and asset naming across thousands of files | Rendering anything |
| Blender | Render | Modelling, sculpt, rig, physics sim, Cycles path-tracing, compositor, UHD→DCI conform | Real-time iteration at scale |
| Unreal Engine | Render | Lumen, Nanite, MetaHuman, Sequencer, path-traced finals via Movie Render Queue | Frame-exact physics simulation |
| Seedance 2.0 on Higgsfield | AI | Image-to-video shots from a rendered first frame; low-resolution drafts, then upscales of the takes you keep | Being your renderer |
← Swipe for the rest of the table →
← Drag for the rest of the table →
Every generation spends credits. Draft cheap, and upscale only the takes you keep — see stage 10.
03
Stages 01–04 — development and assets
Everything here is cheap relative to what follows. Decisions made in these four stages set the cost of the other eight, so this is where to spend argument rather than compute.
01
Script, shot list and storyboards
TOOL
Claude
USE
Shot-list generation, storyboard prompts
GET
Locked shot list + boards
Break the script into a numbered shot list — every shot gets an ID, a duration, a one-line intent and a lane (render or AI). Generate storyboard prompts from the same pass and feed them into image generation at stage 02. Keep the list in one file that every later stage references by shot ID.
Why: Every downstream hour scales with shot count and shot length. Re-blocking on paper costs nothing; re-rendering costs GPU-days. A locked plan is the cheapest place to change your mind.
02
Concept art and textures
TOOL
Flux (text-to-image)
USE
Text-to-image, tiling textures, matte paintings
GET
Look targets, PBR textures, backdrops
Generate key frames and a colour script first, then tileable surface textures at 2K–4K and matte paintings for anything beyond mid-ground. Textures drop straight into Blender or Unreal material graphs; matte paintings become backdrop cards rather than geometry.
Why: Settle the look in cheap 2D before committing to expensive 3D. A matte painting replaces modelling a far background entirely, and a colour script agreed now prevents a relight later.
03
Lock character consistency
TOOL
LoRA fine-tune on Flux or SDXL
USE
20–40 varied images per character
GET
A reusable identity model
Assemble a small, deliberately varied image set for each principal — angles, lighting, expression — and train a LoRA. Give each character a unique trigger token and record it beside the shot list. Validate by generating the same character in three unseen situations before you rely on it.
Why: Identity drift is the first failure mode of generative work: a face that shifts between shots reads as a different person. Training identity once, upstream, keeps every later generated shot and texture reference on-model.
04
Build the 3D assets
TOOL
Hunyuan3D + Blender
USE
Image-to-mesh for kit; sculpt and Geometry Nodes for hero
GET
Prop and environment library
Run concept frames through image-to-mesh for props and background kit, retopologising only what the camera comes near. Reserve sculpting and procedural Geometry Nodes for hero assets that hold a close-up. Name and version everything against the shot list.
Why: Generated meshes are background-grade in minutes. Human modelling effort should be spent only where the camera actually looks — and something still has to fill the rest of the frame.
04
Stages 05–09 — humans, blocking, motion, light
This is the part that most resembles conventional production, and it is where craft still decides the result. The tooling is faster than it was; the judgement is not automatable.
05
Create digital humans
TOOL
MetaHuman Creator
USE
Face, body and groom, exported to the engine
GET
Rigged, film-ready characters
Build or customise each character, pushing the sliders toward realism or stylisation to match the look target from stage 02. Bring them into the engine with grooms enabled and check hair and eye shading under your actual key light, not the default.
Why: A fully rigged face, body and hair pipeline that would otherwise take months. For photoreal work it is the most reliable route to believable skin and eyes; for stylised work, exaggerate deliberately rather than drifting.
06
Assemble scenes and set cameras
TOOL
Unreal Sequencer
USE
Nanite, World Partition, Cine Camera Actor
GET
Blocked shots with final cameras
Drop assets into the level and block each shot in Sequencer against a Cine Camera Actor with real focal length, aperture and focus distance. Stream large environments with World Partition. Script repetitive placement and per-shot camera setup in Unreal Python rather than clicking it.
Why: Nanite ingests film-resolution geometry with no retopology or LOD baking, so you compose at full detail instead of against placeholders. Cine Camera gives lens behaviour a cinematographer can actually talk about.
07
Animate and retarget motion
TOOL
Blender rigs + Unreal Control Rig / IK Retargeter
USE
Hand-key for acting; retarget capture for body
GET
Character performances
Hand-key nuanced acting on a Blender rig. Retarget captured body motion onto MetaHumans with the IK Retargeter and clean up with Control Rig inside the engine, where playback is real-time.
Why: Keyframe for expressive, art-directed motion; capture for grounded weight that hand animation rarely matches. Retargeting in-engine means performance is judged against final lighting rather than a grey viewport.
08
Simulation and FX
TOOL
Blender — Mantaflow, Cloth, Geometry Nodes
USE
Simulate, then cache
GET
VDB volumes and Alembic caches
Simulate smoke, fire, water, cloth and destruction. Cache volumes to OpenVDB and deforming geometry to Alembic, then import into the engine or render the element in Cycles. Cache before you light — resimulating after a lighting change wastes the lighting.
Why: Physically-based sims are art-directable and repeatable frame to frame. That is precisely the control generative video cannot give you, and it is where Blender earns its place over generation.
09
Lighting and look-dev
TOOL
Unreal Lumen → Path Tracer; Blender Cycles
USE
Lumen to iterate, Path Tracer to finish
GET
Final-quality lighting
Light interactively with Lumen across many shots for instant feedback, then switch the same scene to the Path Tracer for finals — no relighting in between. Send extreme close-ups that need reference-accurate indirect light to Cycles instead.
Why: Real-time to iterate, path-traced to finish. Lumen lets you light dozens of shots in a day; the Path Tracer then delivers accurate bounce and reflection on the frames that carry the film.
Generation is a shortcut for the shots that deserve one, not a replacement for the pipeline.
05
Stages 10–12 — generation, render, finish
The last three stages decide whether the mixed sources read as one film. Generation enters here and nowhere earlier, deliberately — it is a shortcut for specific shots, not a production method.
10
Generate the select AI shots
TOOL
Seedance 2.0 on Higgsfield
USE
Image-to-video from a rendered first frame + your LoRA
GET
Organic or impossible shots, as plates
Pick only shots that are disproportionately expensive to build — vast crowds, large-scale fire, dream and morph transitions, establishing plates of places that do not exist. Export a rendered first frame from the engine and use it as the seed image, with the character LoRA applied. Every take spends credits, so draft low and upscale only the keepers (below).
Why: Seeding from a render plus the identity model keeps the generated plate continuous with the rendered spine. Generated shots that do not inherit your world are the reason most AI films look assembled rather than directed.
11
Final render
TOOL
Unreal Movie Render Queue
USE
Path Tracer + deferred passes
GET
Multilayer EXR with AOVs
Queue every shot at working resolution and export multilayer EXR carrying beauty, depth, cryptomatte and motion vectors. Generate the queue configuration programmatically and farm it across machines rather than rendering serially.
Why: Passes turn compositing into a creative stage instead of a repair stage — relight, key, and add depth of field or motion blur without re-rendering. MRQ parallelises, so wall-clock time scales with how many GPUs you have, not with the length of the film.
12
Composite, edit, grade and sound
TOOL
DaVinci Resolve + Fusion
USE
Fusion comp, Cut/Edit, Color, Fairlight
GET
A graded 4K master
Composite render passes, generated plates and sim elements into finished shots in Fusion, cut the film, grade for cohesion, and mix in Fairlight. Where a bespoke recording is not warranted, score can come from Suno and voice from ElevenLabs — cut to picture, then treated like any other element in the grade.
Why: A unified grade is the great equaliser: it blends CG, generated and simulated sources into one visual world. This master is the input to both delivery pipelines — theatrical upscale, and the cinema conform.
06
Generation cost — draft cheap, upscale the keepers
Seedance 2.0 on Higgsfield charges credits for every generation, and most takes end up as scrap. So the resolution you draft at decides the bill. Generate the drafts cheap, pick the good takes, and pay the full-resolution price only for those.
For a 1080p film, draft at 480p, then upscale or re-render only the chosen takes at 1080p in Seedance. For a 4K master, draft at 1080p instead, select only the best takes, and upscale just those to 4K. The scrap never pays the 4K price.
| Delivering | Draft at | Keep | Then |
|---|---|---|---|
| 1080p film | 480p — many takes | The good takes | Upscale or re-render at 1080p in Seedance |
| 4K master | 1080p — many takes | The best takes only | Upscale to 4K |
← Swipe for the rest of the table →
← Drag for the rest of the table →
Many cheap drafts, a few paid upscales: scrap generations never pay the full-resolution cost.
07
What to expect, honestly
The same three-process spine serves both targets and only look-dev changes between them. What differs is where the ceiling sits, and it is worth being straight about that before a schedule is written.
| Target | Ceiling | Where the cost actually lands |
|---|---|---|
| Stylised 3D | Feature-adjacent at true 4K | Animation labour, not render feasibility. The AI lane shines here — a non-literal look absorbs generated shots easily. |
| Photoreal | High-end CG, per shot or sequence | Close-up humans remain the frontier. Environments, vehicles and creatures are reliably achievable; a full photoreal feature indistinguishable from live action is not a solo undertaking. |
| Theatrical delivery | Cinema 4K, package-ready | Conform and QC discipline rather than raw capability. |
← Swipe for the rest of the table →
← Drag for the rest of the table →
Before you start
01
Decide the lane for every shot at stage 01. Reassigning a shot from render to generation halfway through wastes whatever you already built.
02
Train character identity before generating anything with a person in it, not after you notice drift.
03
Render a little wider than your delivery container — the conform crop should never cost you the action.
04
Keep every intermediate lossless. Compression is invisible on a laptop and obvious projected.
08
Learn the tools
Every link below is primary documentation rather than a tutorial mill. If you work through the Unreal cinematics path and the Blender compositor manual, you will have most of what this pipeline assumes.
Primary documentation
Unreal — Movie Render Queue
Queue configuration, deferred passes and the EXR output used at stage 11.
Unreal — Nanite virtualized geometry
Why film-resolution assets need no LOD baking.
Unreal — Lumen GI and reflections
The real-time lighting you iterate in at stage 09.
Unreal — Path Tracer
The reference-accurate finish for the same scene.
Unreal — Cine Camera Actor
Real lens, aperture and focus controls for shot blocking.
Unreal — IK Rig and animation retargeting
Getting captured motion onto a MetaHuman skeleton.
MetaHuman documentation
Character creation, grooms, and export into the engine.
Blender — fluid, smoke and fire (Mantaflow)
The simulation stage, including cache settings.
Blender — Geometry Nodes
Procedural hero assets and destruction setups.
Blender — Cycles
Offline path-tracing for hero close-ups.
OpenEXR
The multilayer format carrying your render passes.
Cryptomatte
Automatic, accurate mattes per object and material in comp.
Flux (Black Forest Labs)
The image model used for concept art, textures and LoRA training.
Hunyuan3D
Image-to-mesh generation for background and prop kit.
Higgsfield
Seedance 2.0 video generation for the select shots at stage 10, drafted low and upscaled for the keepers.
DaVinci Resolve
Fusion comp, edit, grade and Fairlight mix.
Suno
Score generation, cut to picture.
ElevenLabs
Voice and narration where a booking is not warranted.
Key Takeaways
01
Lock the shot list and each shot's lane at stage 01 — everything downstream scales with it.
02
Train character identity before you generate anything with a person in it.
03
Light in Lumen, finish in the Path Tracer: same scene, no relighting.
04
Export passes, not pictures — depth and cryptomatte make comp creative rather than remedial.
PAR2 Labs · Film Making
Work With Us