All Resources
R-32
Film Making
Upscaling AI Footage for Theatre Projection
Eleven steps from a mixed-resolution cut to a package a projector will accept — triage, model selection, oversampling headroom, cinema grade, and the QC nobody should skip.
PAR2 Labs
August 19, 2026
14 min
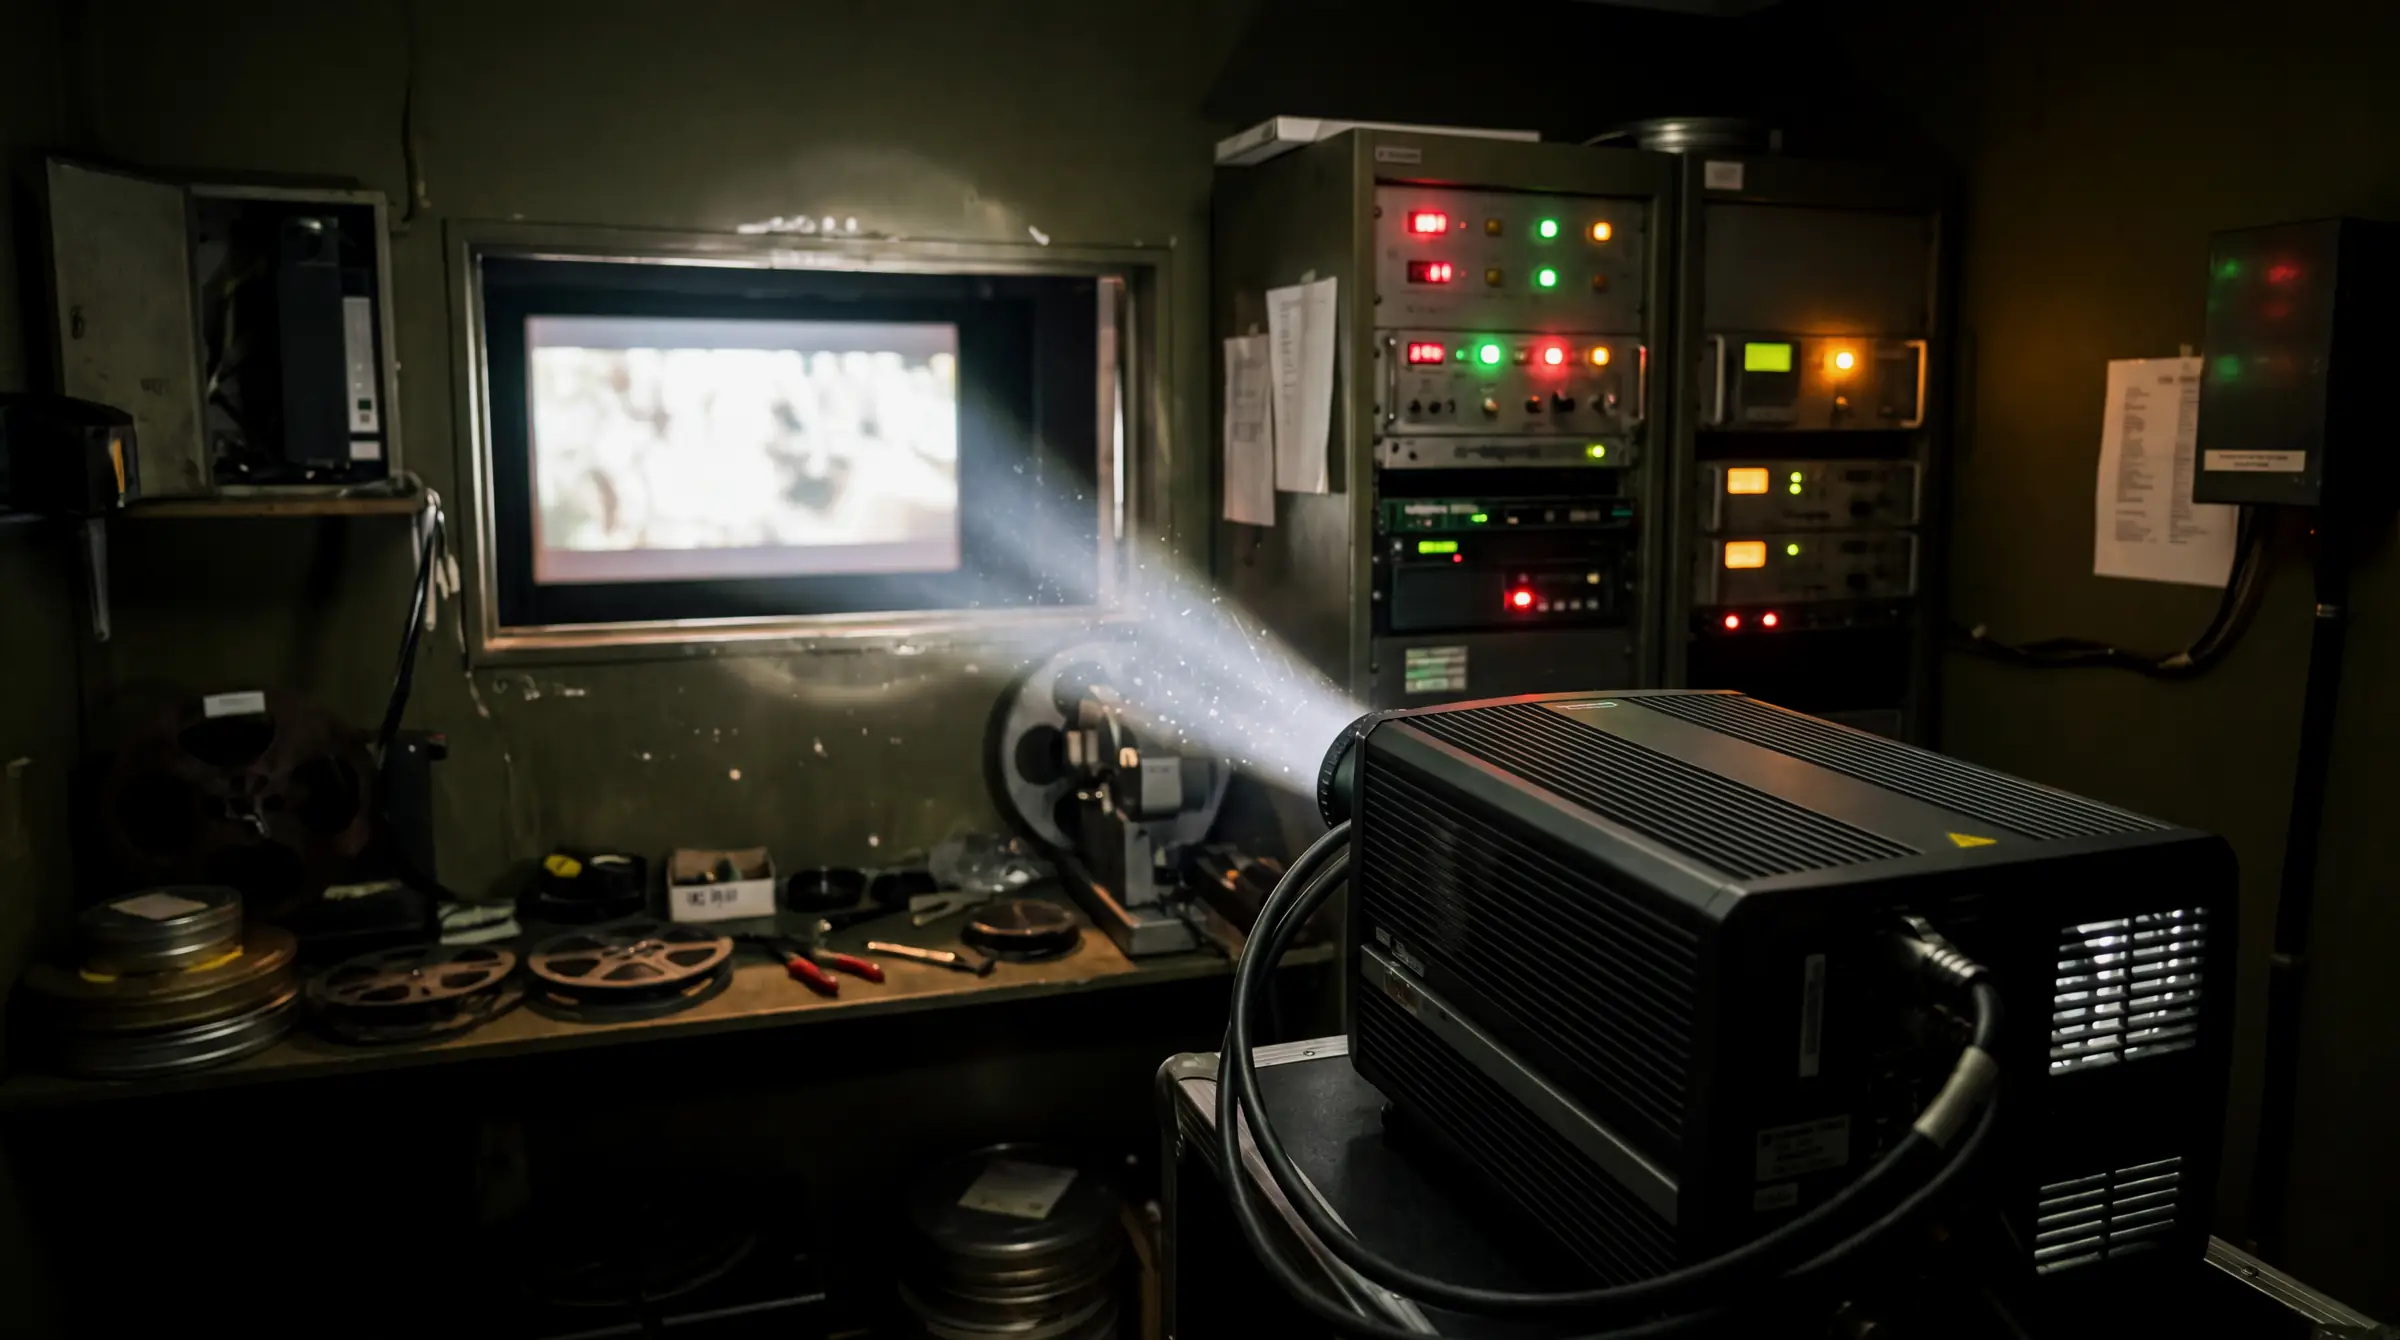
A film cut from generated plates, local model output and rendered frames arrives at delivery as a mixed-resolution mess. Turning it into one consistent theatrical master is a craft with its own failure modes, and almost all of them are invisible on a laptop and glaring at ten metres wide. This is the last mile, step by step.
Watch the explainer
4:55
Narrated, with every diagram built on screen: the chain, end to end, triage and models and headroom and the last mile.
01
The chain, end to end
Delivery is not one operation but a sequence, and each hop has to stay lossless. The single most common own goal is ingesting or exporting a compressed intermediate somewhere in the middle: it looks fine at desk size, and the artifacts are baked in permanently by the time anyone sees them projected.
Fig 1 — the delivery chain. Sources differ wildly in native resolution and artifact profile; everything after triage is about converging them without softening what was already good.
02
Steps 01–03 — set up, triage, choose the model
Nothing here processes a frame. Getting these three right is what prevents you from over-processing footage that was fine, which is the most common way a theatrical master ends up looking worse than the cut it came from.
01
Set up the cinema project
TOOL
DaVinci Resolve Studio
USE
Timeline at the DCI container, 24fps, colour-managed
GET
A conform timeline at target
Create the project at your final container and frame rate — 4096×2160 for Full, or the Flat/Scope variants — with colour management on (DaVinci Wide Gamut or an ACES config). Import masters as ProRes 4444 or EXR sequences. Never import a compressed MP4.
Why: Conforming inside a colour-managed timeline at the delivery spec means every clip is judged against the real target rather than a proxy of it. Lossless ingest keeps recompression out of the chain, which matters enormously at cinema scale.
02
Triage every clip
TOOL
Assessment pass — no processing yet
USE
Check native resolution and artifact profile per source
GET
A per-clip restore/upscale plan
Sort clips by origin. Natively UHD generated footage usually needs artifact restoration, not resolution. Local model output at 720–1080p needs genuine upscaling. Stock or archival SD needs heavy work. Flag specific artifacts — temporal flicker, morphing detail, banding — against each clip.
Why: Only process what needs it. Over-upscaling already-clean footage smears fine detail and leaves a processed sheen that a cinema screen displays perfectly. Restoration and upscaling are different jobs.
03
Pick the right model
TOOL
Topaz Video AI
USE
Starlight · Proteus · Iris · Rhea · Artemis
GET
A model matched to the content
Match the model to the footage rather than reaching for the strongest one. Test each candidate on a 3–5 second sample of the actual clip and compare at 100%, not fit-to-window.
Why: The model choice is the decision. The wrong one either smears real detail or hallucinates false detail, and both are irreversible once you have rendered the intermediate.
| Model | Best for | Risk if misapplied |
|---|---|---|
| Iris | Faces and detail recovery | Can over-sharpen skin on already-clean plates |
| Proteus | General fine-tuning of decent sources | Too gentle for heavy generative artifacts |
| Starlight | Heavy AI-video artifacts, large resolution jumps | Generative — invents detail if pushed hard |
| Rhea | High-resolution upscale of good sources | Wasted compute on footage that needs restoration |
| Artemis | Denoise and sharpen | Softens fine texture if the source is not noisy |
← Swipe for the rest of the table →
← Drag for the rest of the table →
Generated footage generally responds best to Starlight or Proteus tuned gently. Faces almost always want Iris.
03
Steps 04–06 — upscale, cadence, round-trip
The counter-intuitive move is in step 04, and it is the single highest-leverage decision in this pipeline.
04
Upscale with headroom
TOOL
Topaz Video AI
USE
Target above delivery — a 6K or 8K intermediate
GET
ProRes 4444 intermediate
Upscale to a resolution above your cinema target rather than exactly to it, and export ProRes 4444. Keep the grain and artifact-recovery sliders conservative; you can always add grain later, but you cannot remove invented detail.
Why: When the final conform is a downscale, the result is consistently sharper and cleaner than upscaling exactly to target. The extra resolution is oversampling headroom that survives both the reframe and the grade.
05
Fix cadence to 24fps — only if needed
TOOL
Topaz Video AI
USE
Apollo / Chronos / Hyperion frame interpolation
GET
True 24fps footage
Convert any clip that is not already 24fps — some models output 16 or 30 — using motion-aware interpolation. Skip this entirely for clips already at 24, and check interpolated output for warping around fast-moving edges.
Why: Theatrical packages run at 24fps. Motion-aware interpolation resamples cadence smoothly where naive frame duplication judders visibly on a large, bright screen in a way it never does in a browser window.
06
Round-trip back to the timeline
TOOL
DaVinci Resolve
USE
Import the ProRes 4444 outputs onto the conform timeline
GET
Upscaled clips in the conform
Bring processed clips back and replace the originals in place, keeping the same in and out points so the edit does not shift. Verify each replacement against the original for framing and colour before moving on.
Why: Every hop stays lossless. Each unnecessary recompression is invisible on a laptop and obvious projected ten metres wide, and there is no way back once it is baked in.
Recompression is invisible on a laptop and obvious at ten metres wide.
04
Steps 07–09 — reframe, grade, master
The reframe is a geometry problem with real creative consequences and it gets its own article. The grade is where a film made in a bright room learns to behave in a dark one.
07
Reframe UHD to the cinema container
TOOL
DaVinci Resolve, or Blender for per-shot control
USE
Input Sizing / Output Blanking to the chosen container
GET
Correctly framed shots
Scale uniformly to the container width, then crop or pad per shot. Resolve handles this on the timeline; Blender's compositor gives finer per-shot control when the framing decision differs shot to shot.
Why: UHD and the cinema containers are different shapes, so this cannot be skipped and must never be a stretch. The full geometry is covered in the conform article.
08
Grade for the theatre
TOOL
DaVinci Resolve — Color page
USE
DCI-P3 output, calibrated display, film grain
GET
A theatrical grade
Grade to the projector gamut on a calibrated display in a dimmed room. Control highlights for a dark auditorium, and add fine film grain deliberately across the whole film.
Why: Cinema is darker and far larger than a monitor — a grade that looks right on a desk looks flat projected. Grain masks the unnatural cleanliness of generated material and prevents banding across gradients, which is one of the most common big-screen artifacts.
09
Render the package master
TOOL
DaVinci Resolve — Deliver page
USE
ProRes 4444 or DPX, 24fps, 5.1 in L R C LFE Ls Rs order
GET
The package source master
Export a high-bit master already at final resolution, frame rate and cinema channel layout. Confirm the audio channel order explicitly rather than trusting a preset.
Why: The encoder consumes this master as-is, so anything wrong here ships. Incorrect audio channel order is a classic festival rejection and is trivially avoidable.
05
Steps 10–11 — package and prove it
A package that has never been projected is an untested deliverable. This last step is skipped more often than any other and causes more screening-day failures than everything above it combined.
10
Encode the package
TOOL
Resolve Studio (built-in) or DCP-o-matic (free)
USE
JPEG 2000, XYZ colour, 24fps, SMPTE MXF, reels
GET
A finished package folder
Wrap the master: JPEG 2000 image essence, conversion to XYZ, SMPTE MXF containers, split into reels. Resolve Studio includes an unencrypted encoder; DCP-o-matic is the free standalone alternative and is well documented.
Why: Projectors ingest only this container — it is mandatory rather than a preference. Unencrypted is fine for festivals; encryption requires per-venue keys and a lot more coordination.
11
QC on real hardware
TOOL
A validated player or an actual cinema
USE
Full playback, start to finish
GET
A verified package
Play the entire package on a real projector or a validated player before the screening. Watch specifically for colour shifts introduced by the XYZ conversion, gradient banding, audio sync drift, and action falling outside the safe area.
Why: Those four failures are effectively invisible anywhere except projected. Never ship a package you have not watched on cinema hardware.
The four that bite
01
A compressed intermediate somewhere in the chain — invisible on a laptop, obvious projected.
02
Over-processing clean footage, which smears real detail and adds a synthetic sheen.
03
Upscaling exactly to target instead of above it, giving up the oversampling that survives the grade.
04
Wrong audio channel order in the master — a routine and entirely preventable rejection.
06
Tools and references
The package specification itself is public, and reading the delivery recommendations before your first encode will save a rejected screening.
Primary documentation
Topaz Video AI
The restoration and upscale models discussed in steps 03–05.
DaVinci Resolve
Conform, grade, deliver — and an unencrypted package encoder in Studio.
DCP-o-matic
Free, well-documented standalone packaging with an active support forum.
ISDCF — Inter-Society Digital Cinema Forum
Naming conventions, delivery recommendations and the technical documents exhibitors actually reference.
OpenEXR
For EXR sequence ingest from a render pipeline.
OpenColorIO
The colour-management framework behind ACES configs used at step 01.
Key Takeaways
01
Conform at the delivery spec from the first import, never near it.
02
Triage by source: natively high-resolution footage usually needs restoration, not more pixels.
03
Upscale above target so the final conform is a downscale.
04
Watch the finished package on cinema hardware before you ship it.
PAR2 Labs · Film Making
Work With Us